Fuel Tank Issues

March 9th, 2009

Lots of Tomcats are fitted with aftermarket fueltanks, usually all pretty and shiny, and made of aluminium. As I’m trying to do all this on a budget, I’m going to use my old Range Rover one. There are a few problems with this.

  1. It’s meant to be mounted at an angle, and my frame is flat
  2. Although there is a section built into the rear frame where the tank would fit, it would get in the way of the rear winch.
  3. Only very early Range Rovers have locking fuel caps, as the flap locked on the bodywork of all the later ones.

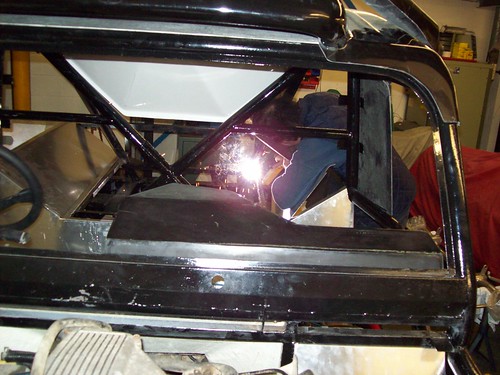
So, we decided to move the existing mounts forward, and mount the tank at (close to) the original angle. We cut the box section away, then welded them back in further up.

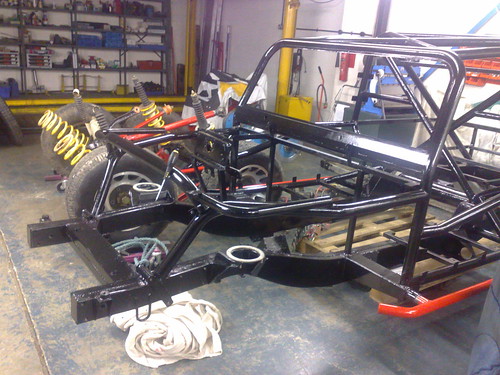
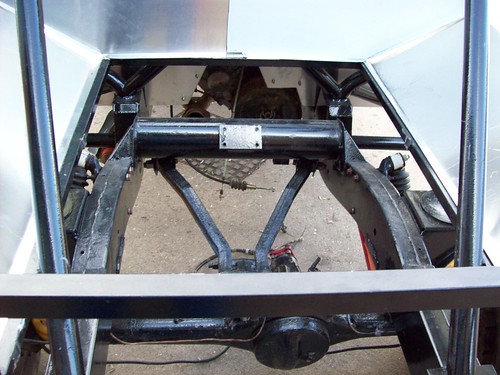
Rear of the Tomcat with the box section removed.

Rear of the Tomcat with the box section removed.

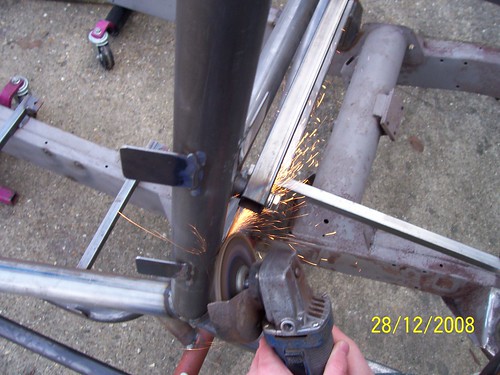
Welding the box section back into place

Welding the box section back into place

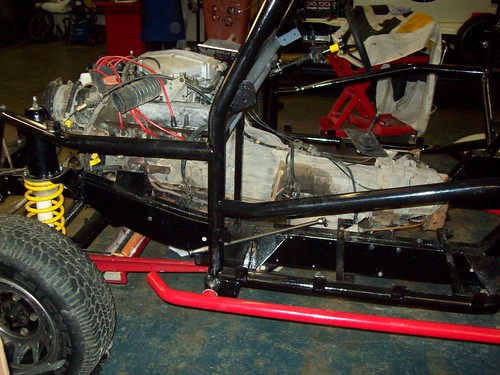
The (grubby) fuel tank, in its new place. We will use spacers to get the angle right.

The (grubby) fuel tank, in it's new place. We will use spacers to get the angle right.

We’ll try and grab some rubber mounts for it, but I’m not convinced they’re really needed (if we’re flexing the fuel tank, then we’re flexing the chassis). A Land Rover breakers up the road has a filler neck and locking cap from an old Range Rover, which is mine for £25. The only thing missing is the cap key!

We also mounted the hand brake. We put it right at the back of the transmission tunnel, with some chequerplate mounted underneath to strengthen it.

Viewed from under the car: Making a cardboard template for the chequerplate.

Viewed from under the car: Making a cardboard template for the chequerplate.

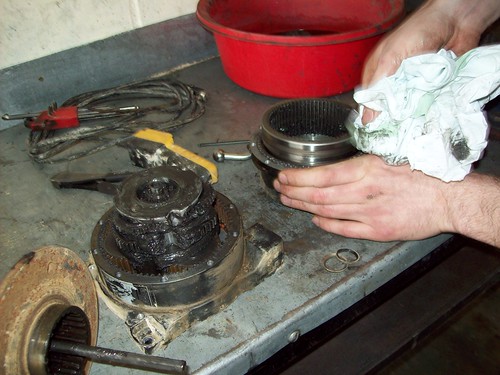
As you might have seen in the early photos, the Range Rover had a Britpart DB9500i on the front (here is a photo) which has been very good, but it has always been very difficult to pull the rope out by hand. This winch is now going on the back, as I have just (literally an hour ago) agreed to take a Warn 8274 off a nice chap’s hands (more on that in the future). So, we decided to take the Britpart winch apart to see if we could spot anything wrong.

Some bits of winch.

Some bits of winch.

It was all fairly straightforward and came apart easily. We cleaned and oiled all the moving parts and put it back together.

Cleaning the winch. Note the gearbox in the foreground.

Cleaning the winch. Note the gearbox in the foreground.

Cleaning made a big difference, but it’s still not perfect. We have since realised that we didn’t knock the braking mechanism from the inside of the winch drum, so we’ll do that next time we go to the workshop.

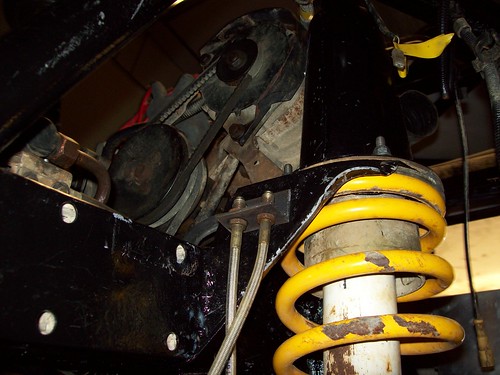
Finally, we made some brackets to hold the brake lines to the chassis.
Brake line brackets

Brake line brackets

It’s been a while

March 2nd, 2009

So, yes, it’s been a while since the last update, and quite a lot has been done. Let’s start with the big stuff first.

Ta-daa!

Ta-daa!

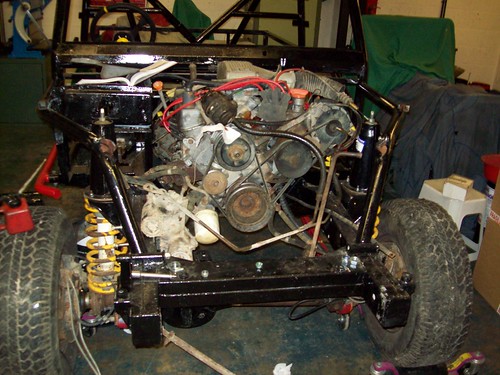
There’s an engine! And it’s in! Ignore the filthy power steering unit (that will get cleaner as the photo’s go on) if you would. Getting the engine in involved using a hoist to get it halfway in, balancing it on a jack, removing the ropes and then re-attaching them through the windscreen to get the engine back far enough to mount. This may have been easier if not for Big Problem #1: The gearbox is the wrong size.

And the problems begin...

And the problems begin...

Let me explain. Quite a lot of people swap the high/low ratio transfer boxes out of automatic Range Rovers for one from a manual, which has a driver-selectable central diff lock (rather than an automatic one). I have not, for various reasons, but the people at Tomcat assumed I had, which meant they built the rollcage around a gearbox that is two inches shorter than the one I have. This has caused some problems, ranging from the small (the drum for the handbrake fouled on one of the seat mounts) to the large (the propshafts were the wrong length). I solved the seat mount problem with a hacksaw, but the propshafts had to be sent back to Tomcat (along with the seats, which turned out to be a bit too small for my rather generous backside) to be modified.

The transmission cooler

The transmission cooler

But anyway – the engine is in, the gearbox(es) are in, the steering is in, the transmission cooling is in, the oil cooling is in (in the bin, we’re just going to blank it off and put a guage on to keep an eye on the temperature). Some of the metal panels have been fitted and the transmission tunnel is in, with the gearsticks fitted.

Spacious, huh?

Spacious, huh?

I’m doing some thinking about the dashboard – ideally I would like to keep the original instument panel, as this would be much easier to wire in, but it won’t fit with the supplied dashboard. However, the dashboard is actually in two bits, so I may remove the driver’s half and fit the instrument panel above the steering column, as in the photo above. The alternative is to cut a gap in the dashboard big enough for the panel to fit into, but that’s a decision for another day.

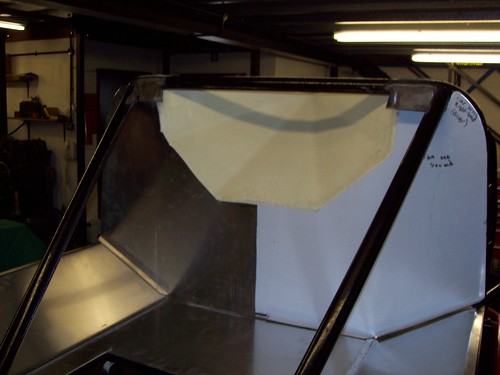
The rear of the cab, with hole cut for the air to get to the radiator

The rear of the cab, with hole cut for the air to get to the radiator

Finally, I used a nibbler to cut out the hole for the air to get to the radiator. Note the brackets at the top of the picture above for the top pegs of the radiator to fit into. The bottom pegs sit on some box section which isn’t fitted yet.

Next weekend – brakes and fuel!

Hello, it looks like a car!

January 19th, 2009

After months putting up with piles of bits, and then a month or so of having something that looked like a climbing frame, we’ve fitted the running gear and suddenly it looks like a car.

It finally looks like a car!

It finally looks like a car!

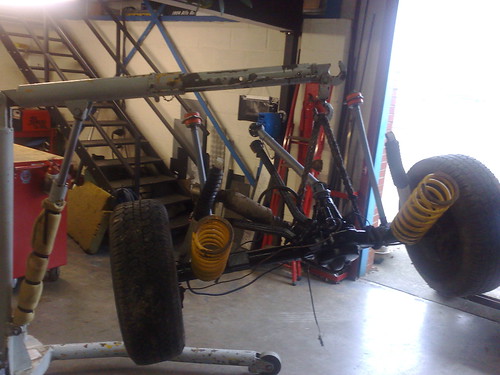
Getting the running gear onto the chassis was a case of lowering the chassis onto the axle and seating the springs, holding them in place (so they couldn’t shift backward or forward) with ratchet straps whilst getting the trailing arms / radius arms seated, then compressing the springs and tightening the arm bolts. To compress the springs, you can use spring compresser (obviously), a ratchet strap around the axle and the bodywork, or do what we did and drop a car ramp onto the whole thing.

Compressing the rear springs. Note my important job as a weight.

Compressing the rear springs. Note my important job as a weight.

That was about it this weekend – we did a touch more painting, put the steering wheel together, pressure-washed the engine (again), cleaned up some parts, scratched our heads about where to put the petrol tank and offered the winch bumper to the front to see how much we need to take off the chassis (about eight inches, distressingly).

And we played silly buggers =]

Vroom vroom!

Vroom vroom!

The next job will be getting the engine and gearbox mounted, some time around the end of the month. Stay tuned!

Progress!

January 11th, 2009

Everything is painted! Chassis, suspension components, running gear – all done!

Moving the axles into the workshop

Moving the axles into the workshop


It looks much better, I think you’ll agree.
Axles all painted. Note the runners under the rear wheels - the brakes are stuck on.

Axles all painted. Note the runners under the rear wheels - the brakes are stuck on.


Next weekend, we actually start putting things back together!
With red rock sliders.

The chassis, with red rock sliders.

Pick a colour. Any Colour…

December 30th, 2008

There’s a little work to do before painting can commence – namely grinding off some of the protuding welds to make sure they don’t get in the way of the bodywork, skimming off some of the welding splatter with a flathead screwdriver and wiping the whole thing down with thinners to get rid of any grease.

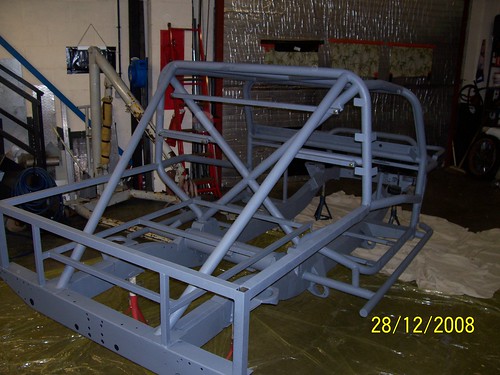
Begone, lumps!

Begone, lumps!

Next, some primer – we stood it on it’s side first to do the underneath, and now that we’re in a nice warm workshop it was dry enough to turn it back the right way up within the space of a cup of coffee. We used an engine hoist when getting it back down again but it’s light enough to do with two of you lifting if you don’t have one. We took the bolts off to make sure we didn’t get paint on them (the box section at the back has to come off to be painted properly anyway).

By the end of this, we were thinking that grey would be a good colour!

By the end of this, we were thinking that grey would be a good colour!

I decided to paint it black – my friend told me a red car with black bodywork would look like a ladybird. I’m not convinced he’s right, but the shop was out of red paint, so black it was.

This followed the same procedure as the primer as far as standing it on it’s side was concerned. We’re going to give another coat to the underside and to the bits you can actually see once the body is on (the door frames, window frame, rear cockpit frame and the two bits that come down from the roof to the rear of the car). We painted the rock sliders the same red colour as the propshafts, underbody protection and springs are going to be.

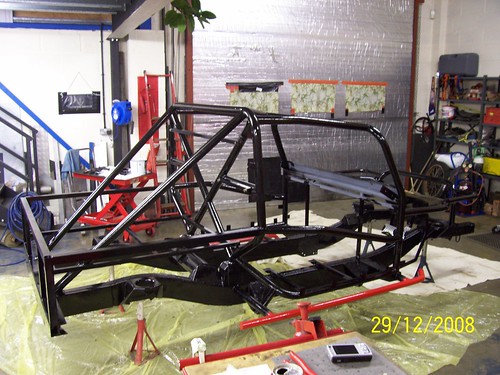
Done!

Done!

The next step (after a bit more painting) will be fitting the axles and suspension.

Homecoming

December 23rd, 2008

I’ve got a Tomcat! Shame it’s all in bits, but never mind.

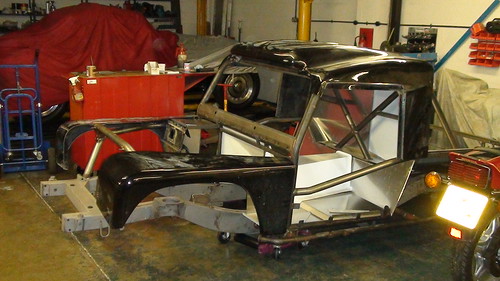
In its new home with the roof and wing tops on

In its new home with the roof and wing tops on

The chassis and rollcage just (just!) fitted into a 4.5′ car trailer.

You can see the pedal box to the left of the car.

You can see the pedal box to the left of the car.

Now it’s all back, and (now that it’s clean) into it’s new home, which is drier and has a somewhat higher roof.

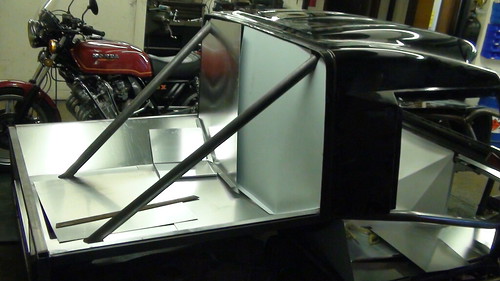
The rear floor is just laying in at the moment.

The rear floor is just laying in at the moment.

Next step – prime and paint the cage. I’m having a colour dilemma, though – the bodywork is black, and I’d always intended for the rollcage to be black too, with certain bits (the coil springs and underbody protection) being red. Now I’m thinking that the whole rollcage should be red.

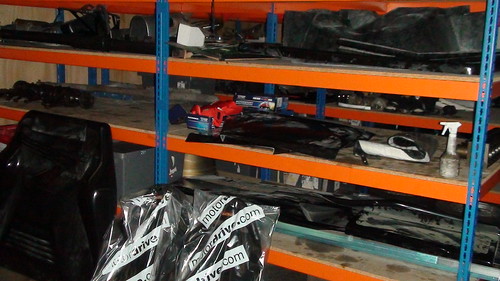
Various bits. The McLaren F1 nose in the background wont fit - shame.

Various bits. You can see to top of the seats on the floor.

Hmm…

Collection Time

December 18th, 2008

I’ve just got off the phone to Paul and the bits should be arriving this afternoon, meaning the Tomcat is ready to pick up tomorrow!

Work commitments mean I can’t fetch it that early, but on Monday it’s back to Nottingham again.

Delivery Boys

November 20th, 2008

Today we dragged the bodywork we (hopefully) don’t need to a local scrapyard, and then took the chassis on to Tomcat.

Well organised, as you can see

Well organised, as you can see.

The rollcage should be fitted next week (we saw it when we arrived, it just needs fitting to the chassis) and the bodywork will be in by mid-December.

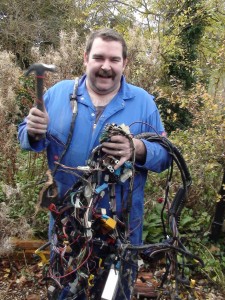
The loom, as removed by me. With that hammer.

The loom, as removed by me. With that hammer.

The bodywork will be taped to the frame ready for collection. Paul from Tomcat advises that we bring a sheet to prevent the body panels from blowing off on the way home. I agree.

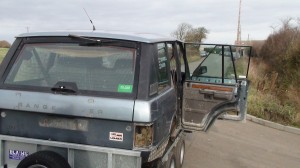
The old body about to be taken into the scrapyard

The old body about to be taken into the scrapyard.

I’ve also picked up my first official Tomcat part – the heated windscreen! The windscreen is specially made to fit a Tomcat, and has a heating element so powerful that Paul advises you to fit a ten-minute timer, as leaving it on for too long will cause the plastic between to glass to melt!

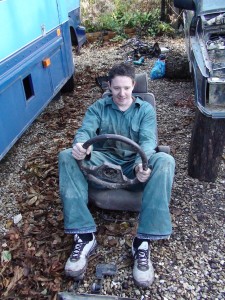
Seat, steering wheel and pedals. All you need for `pretend car` fun.

Seat, steering wheel and pedals. All you need for 'pretend car' fun...

Time lag switches are proving rather hard to locate on the Internet. Stay tuned…
(Update – aha, here we are – a heated rear window timed relay.)

No turning back

November 4th, 2008

Well, the body is off the chassis, so there’s no turning back now. It was fairly hard, but not as bad as I thought. We removed all the cooling pipes and the main radiator, undid the UJ on the steering column, disconnected all the electrics from the engine, removed the winch and winch bumper, brake lines and ABS electronics, disconnected the gear linkage and speedometer cable, undid the mounts and lifted the whole body up with a crane. It took three of us about ten hours.

No steps? No worries.

No steps? No worries.

God only knows what you'd do if you didn't have a crane.

I don't know what you do without a handy crane...

Highlighted in red

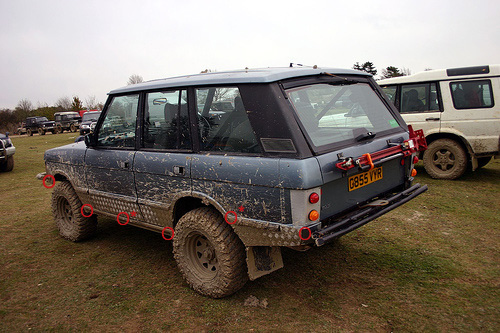
Mounting points highlighted in red. *Toward the centre

Video showing the roof removal

Starting Date

October 17th, 2008

Having just gotten off the phone with Paul at Tomcat, my chassis has to be with him by the 20th November for work to begin.

On the first of November I will be taking everything apart. Mark your calanders and look out for photos of injuries, bolts that won’t move, angle grinders and entire car bodies falling off Matbro Telerams.