The big push
Wednesday, July 22nd, 2009So, suddenly, it’s Saturday 11th July, and we have less than a week left before the MOT. The list of this to do is, in fairness, pretty big. I’ll split them all up into sections, although in reality we were doing everything at once.
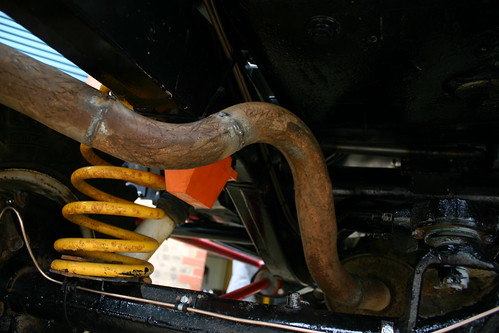
Let’s start with the exhaust system. The original V8 silencer is too big to fit now, so we used one from a 200TDi Discovery. On the advice of someone from the Internet, we ditched the smaller back box entirely, cut and welded the original rear pipe (with the bend to go over the axle), shortened it at the back and put it all back together.
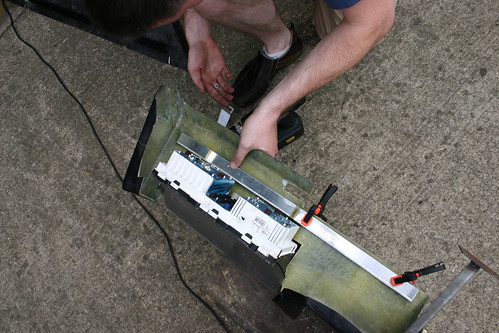
We still had no instruments or dashboard at this point, so, in the interests of saving money, we hacked a big hole in the Tomcat dashboard and fitted the original instrument cluster into it. This took a long time.
As we cut so much out, we had to add some strength to the dashboard, so we bent some ali up and bolted it in place.
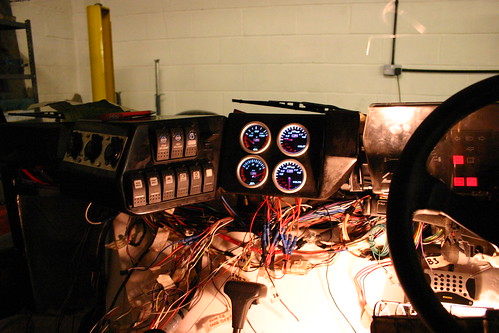
Then we cut holes for the four additional gauges (oil pressure and temperature (important as we’d ditched the oil coolers) and a voltage meter for each battery) and cut holes for all the switches.
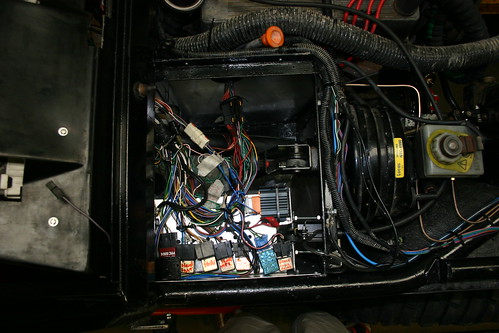
Finally, it was time to put some wires into the car. We started at the engine, then made a small tray to hold a bunch of relays in a (hopefully) water-resistant box at the top of the pedal box.
We used the original ignition and indicator / light stalks, too.
Then the dashboard went on, and all the switches and gauges were wired in. The wires were (mostly) hidden behind the dashboard.
Next, we cut the holes for the headlights in the wings with a jigsaw cutter (badly) and used circle cutters to make the holes for the side lights. We also drilled air holes in the front panel – a temporary measure for the transmission radiator behind it. We decided we would never have time before the MOT to build a bespoke front bumper with the Warn winch, so we hacked the bits of the chassis that stuck out, too. Once the front panel was bolted to the wings the whole lot became very rigid.
Then (after replacing a faulty relay for the fuel pump) we fired up the engine, which was loud. Still, everything seemed to be working as expected.
The original washer bottle wouldn’t fit, so we bought a small kit-car washer bottle and fitted that in front of the passenger footwell (although the original would have gone on the back of the car quite nicely). We also bolted on the ARB air compressor and made a small battery ‘stand’ out of old desk legs. We ran the axle breathers along with the ARB diff lock lines.
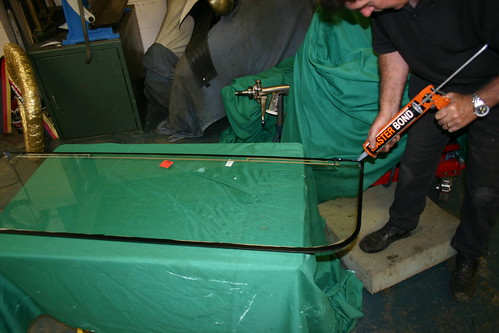
It was time to fit the windscreen. We purchased some Master Bond windscreen sealant from eBay, primed the windscreen and then applied a thick layer of the stuff around the edge.
We held the windscreen in place overnight with a sophisticated tool designed just for the job. If you don’t have one like it I don’t know how you’ll manage, to be honest.
Lots of relatively simple things still needed to be done. The bonnet is fixed on with some home-made brackets at the back and some proper bonnet clamps at the front, a dead switch was placed just under the windscreen in front of the passenger and we checked all the lubricants. We also cut and shaped several lengths of right-angled aluminium to finish up the rear of the vehicle.
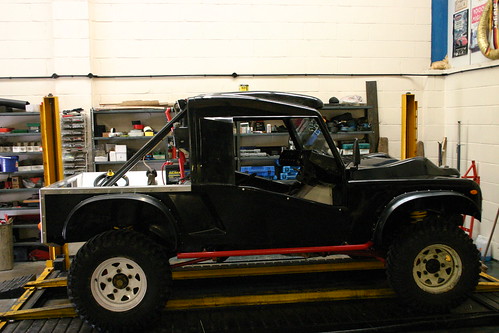
And then, suddenly, we were done.
We tidied up wires and rubbed off all the paint guidelines we had made, added more rivets and siliconed up some gaps in the bodywork. Stickers were stuck, windscreen wipers (some cheap 12″ ones from a local auto shop) and washers were added and then trundled off to the MOT. It failed on one thing, which was the telltale light on the Fog Light switch (which always showed as ‘on’). We fixed that in a matter of minutes, took it back to the MOT station and got ourselves a ticket.
Then we taxed it, and took it through some mud!
We still have bits to do – it needs places for attaching towing shackles and rings to feed the winch through (in case we need to winch upwards, or something), it needs storage for ropes and bits added, storage for the high-lift jack, waffles, spare tyre and ground anchor. It also needs the front winch fitting, which should be much easier using the DIY 8274 winch holder I purchased from D4x4 at Billing (link). It also needs the distributor taking off and waterproofing, as it threw a fit in the water at Billing again.
So, we’re not quite done yet, then…
