Archive for March, 2009

Plodding on

Tuesday, March 31st, 2009

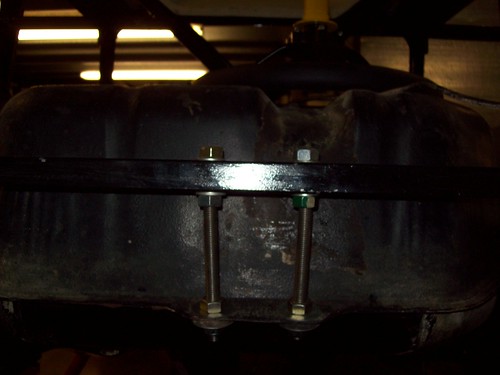
The fuel tank is in, held level using bent studs.

The rear of the fuel tank

The rear of the fuel tank

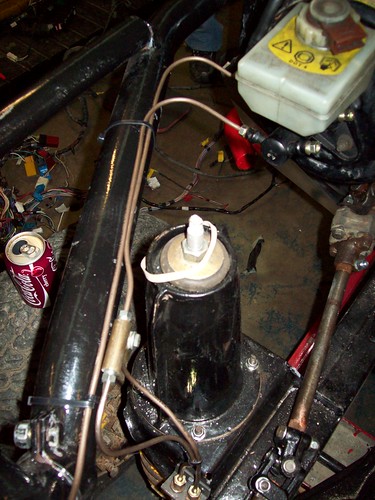
The front brake lines are in, too.

Front brake lines

Front brake lines

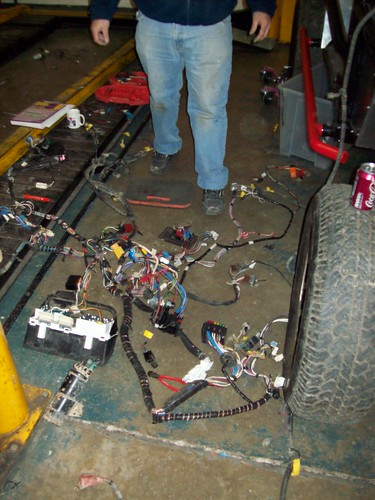
Finally, oh dear God, we took a look at the electrics. When we removed the wiring loom from the Range Rover we labelled all the wires with strips of masking tape. Since then, the labels have either fallen off or rain has washed the writing on them away.
Great.
So, my brother was lucky enough to have the job of figuring it all out again, which he did by re-wiring as much stuff as he could on the floor of the workshop.

Lots of head-scratching going on here

Lots of head-scratching going on here

This would have been easier if (a) I hadn’t ditched a load of the switches along with the body of the Range Rover, and (b) if the Haynes manual had the right colours for the wires in its wiring diagrams.
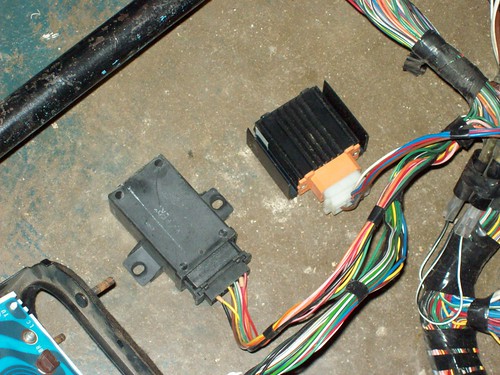
Still, he got there in the end (re-labelling as he went), but there are two components we don’t recognise.

Mystery Parts

Mystery Parts

I’ve asked the clever people at the Devon 4×4 Forum what they might be, so no doubt I’ll know soon, and I’ll let you know.

[Update] On the left, the central locking controller, so that can go. On the right, the headlight Dip/Dim controller, which has to stay. Good work, Internet!

Fuel Tank Issues

Monday, March 9th, 2009

Lots of Tomcats are fitted with aftermarket fueltanks, usually all pretty and shiny, and made of aluminium. As I’m trying to do all this on a budget, I’m going to use my old Range Rover one. There are a few problems with this.

  1. It’s meant to be mounted at an angle, and my frame is flat
  2. Although there is a section built into the rear frame where the tank would fit, it would get in the way of the rear winch.
  3. Only very early Range Rovers have locking fuel caps, as the flap locked on the bodywork of all the later ones.

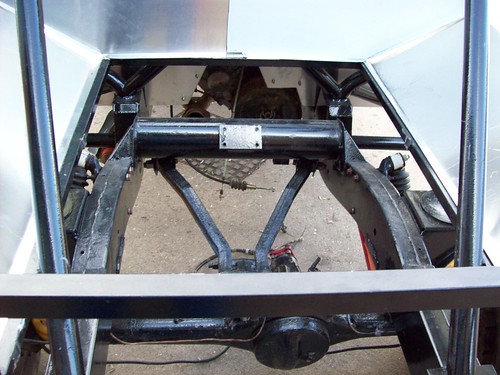
So, we decided to move the existing mounts forward, and mount the tank at (close to) the original angle. We cut the box section away, then welded them back in further up.

Rear of the Tomcat with the box section removed.

Rear of the Tomcat with the box section removed.

Welding the box section back into place

Welding the box section back into place

The (grubby) fuel tank, in its new place. We will use spacers to get the angle right.

The (grubby) fuel tank, in it's new place. We will use spacers to get the angle right.

We’ll try and grab some rubber mounts for it, but I’m not convinced they’re really needed (if we’re flexing the fuel tank, then we’re flexing the chassis). A Land Rover breakers up the road has a filler neck and locking cap from an old Range Rover, which is mine for £25. The only thing missing is the cap key!

We also mounted the hand brake. We put it right at the back of the transmission tunnel, with some chequerplate mounted underneath to strengthen it.

Viewed from under the car: Making a cardboard template for the chequerplate.

Viewed from under the car: Making a cardboard template for the chequerplate.

As you might have seen in the early photos, the Range Rover had a Britpart DB9500i on the front (here is a photo) which has been very good, but it has always been very difficult to pull the rope out by hand. This winch is now going on the back, as I have just (literally an hour ago) agreed to take a Warn 8274 off a nice chap’s hands (more on that in the future). So, we decided to take the Britpart winch apart to see if we could spot anything wrong.

Some bits of winch.

Some bits of winch.

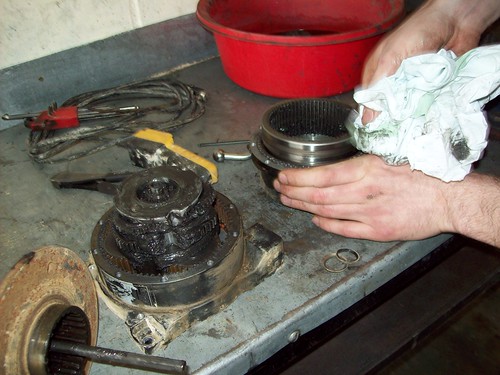
It was all fairly straightforward and came apart easily. We cleaned and oiled all the moving parts and put it back together.

Cleaning the winch. Note the gearbox in the foreground.

Cleaning the winch. Note the gearbox in the foreground.

Cleaning made a big difference, but it’s still not perfect. We have since realised that we didn’t knock the braking mechanism from the inside of the winch drum, so we’ll do that next time we go to the workshop.

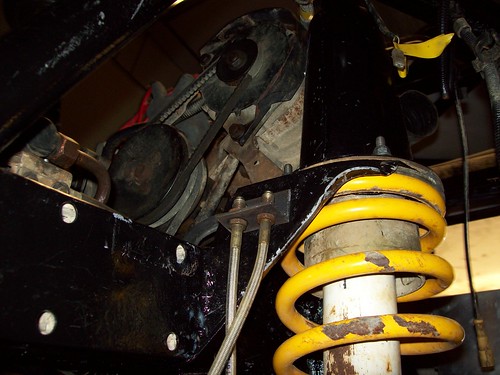
Finally, we made some brackets to hold the brake lines to the chassis.

Brake line brackets

Brake line brackets

It’s been a while

Monday, March 2nd, 2009

So, yes, it’s been a while since the last update, and quite a lot has been done. Let’s start with the big stuff first.
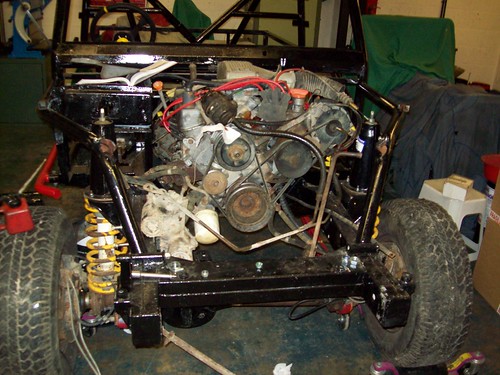
Ta-daa!

Ta-daa!

There’s an engine! And it’s in! Ignore the filthy power steering unit (that will get cleaner as the photo’s go on) if you would. Getting the engine in involved using a hoist to get it halfway in, balancing it on a jack, removing the ropes and then re-attaching them through the windscreen to get the engine back far enough to mount. This may have been easier if not for Big Problem #1: The gearbox is the wrong size.
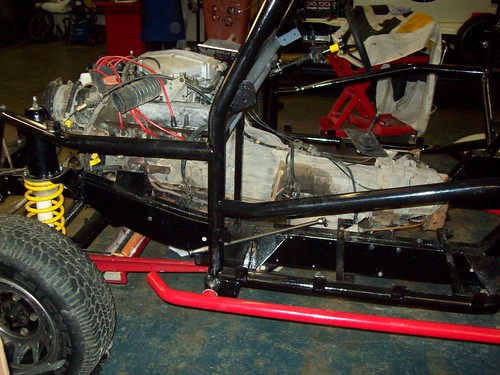
And the problems begin...

And the problems begin...

Let me explain. Quite a lot of people swap the high/low ratio transfer boxes out of automatic Range Rovers for one from a manual, which has a driver-selectable central diff lock (rather than an automatic one). I have not, for various reasons, but the people at Tomcat assumed I had, which meant they built the rollcage around a gearbox that is two inches shorter than the one I have. This has caused some problems, ranging from the small (the drum for the handbrake fouled on one of the seat mounts) to the large (the propshafts were the wrong length). I solved the seat mount problem with a hacksaw, but the propshafts had to be sent back to Tomcat (along with the seats, which turned out to be a bit too small for my rather generous backside) to be modified.
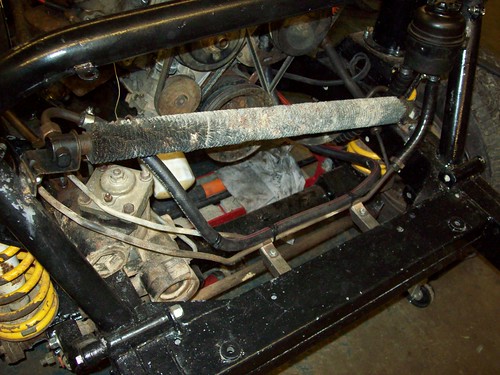
The transmission cooler

The transmission cooler

But anyway – the engine is in, the gearbox(es) are in, the steering is in, the transmission cooling is in, the oil cooling is in (in the bin, we’re just going to blank it off and put a guage on to keep an eye on the temperature). Some of the metal panels have been fitted and the transmission tunnel is in, with the gearsticks fitted.

Spacious, huh?

Spacious, huh?

I’m doing some thinking about the dashboard – ideally I would like to keep the original instument panel, as this would be much easier to wire in, but it won’t fit with the supplied dashboard. However, the dashboard is actually in two bits, so I may remove the driver’s half and fit the instrument panel above the steering column, as in the photo above. The alternative is to cut a gap in the dashboard big enough for the panel to fit into, but that’s a decision for another day.
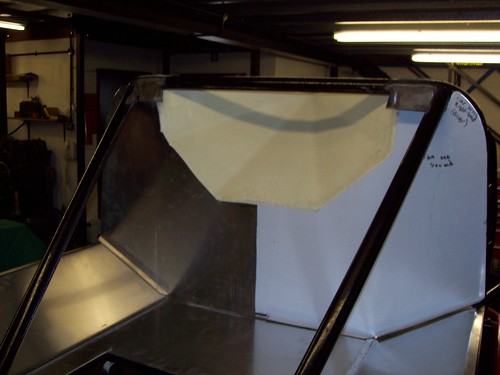
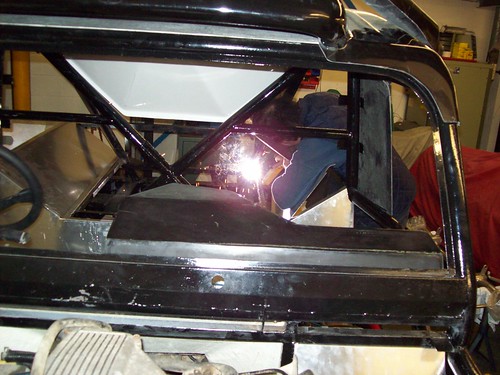
The rear of the cab, with hole cut for the air to get to the radiator

The rear of the cab, with hole cut for the air to get to the radiator

Finally, I used a nibbler to cut out the hole for the air to get to the radiator. Note the brackets at the top of the picture above for the top pegs of the radiator to fit into. The bottom pegs sit on some box section which isn’t fitted yet.

Next weekend – brakes and fuel!