Pick a colour. Any Colour…
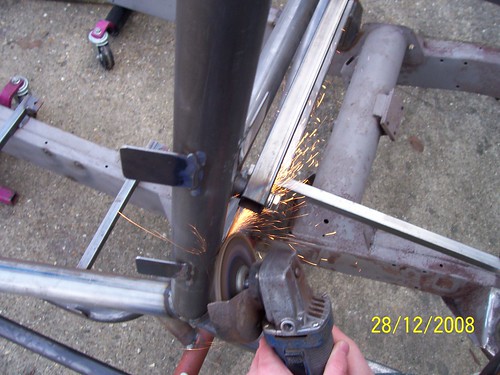
There’s a little work to do before painting can commence – namely grinding off some of the protuding welds to make sure they don’t get in the way of the bodywork, skimming off some of the welding splatter with a flathead screwdriver and wiping the whole thing down with thinners to get rid of any grease.
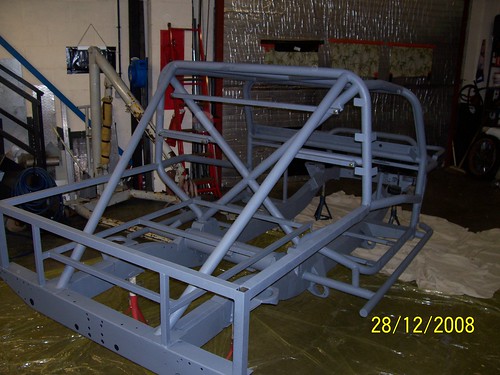
Next, some primer – we stood it on it’s side first to do the underneath, and now that we’re in a nice warm workshop it was dry enough to turn it back the right way up within the space of a cup of coffee. We used an engine hoist when getting it back down again but it’s light enough to do with two of you lifting if you don’t have one. We took the bolts off to make sure we didn’t get paint on them (the box section at the back has to come off to be painted properly anyway).
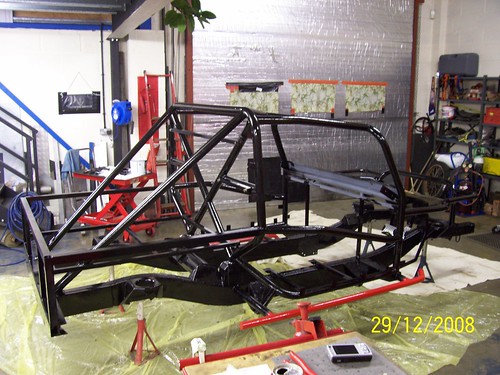
I decided to paint it black – my friend told me a red car with black bodywork would look like a ladybird. I’m not convinced he’s right, but the shop was out of red paint, so black it was.
This followed the same procedure as the primer as far as standing it on it’s side was concerned. We’re going to give another coat to the underside and to the bits you can actually see once the body is on (the door frames, window frame, rear cockpit frame and the two bits that come down from the roof to the rear of the car). We painted the rock sliders the same red colour as the propshafts, underbody protection and springs are going to be.
The next step (after a bit more painting) will be fitting the axles and suspension.


