It’s been a while
So, yes, it’s been a while since the last update, and quite a lot has been done. Let’s start with the big stuff first.
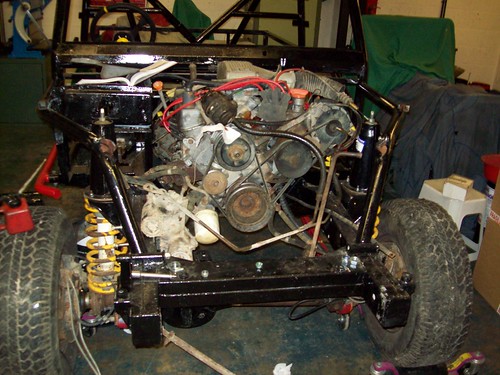
There’s an engine! And it’s in! Ignore the filthy power steering unit (that will get cleaner as the photo’s go on) if you would. Getting the engine in involved using a hoist to get it halfway in, balancing it on a jack, removing the ropes and then re-attaching them through the windscreen to get the engine back far enough to mount. This may have been easier if not for Big Problem #1: The gearbox is the wrong size.
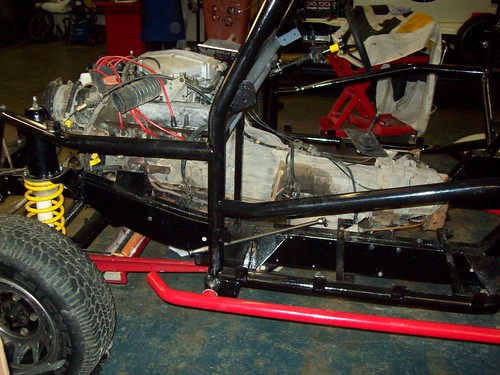
Let me explain. Quite a lot of people swap the high/low ratio transfer boxes out of automatic Range Rovers for one from a manual, which has a driver-selectable central diff lock (rather than an automatic one). I have not, for various reasons, but the people at Tomcat assumed I had, which meant they built the rollcage around a gearbox that is two inches shorter than the one I have. This has caused some problems, ranging from the small (the drum for the handbrake fouled on one of the seat mounts) to the large (the propshafts were the wrong length). I solved the seat mount problem with a hacksaw, but the propshafts had to be sent back to Tomcat (along with the seats, which turned out to be a bit too small for my rather generous backside) to be modified.
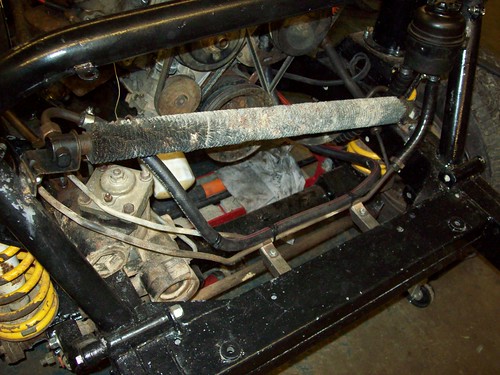
But anyway – the engine is in, the gearbox(es) are in, the steering is in, the transmission cooling is in, the oil cooling is in (in the bin, we’re just going to blank it off and put a guage on to keep an eye on the temperature). Some of the metal panels have been fitted and the transmission tunnel is in, with the gearsticks fitted.
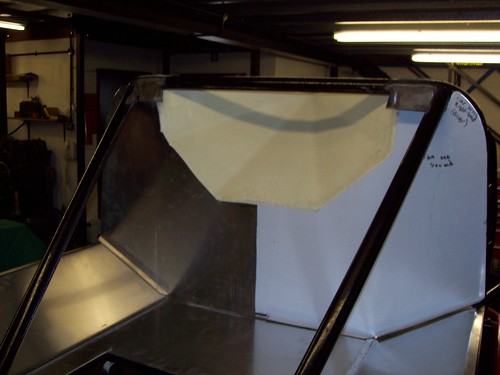
I’m doing some thinking about the dashboard – ideally I would like to keep the original instument panel, as this would be much easier to wire in, but it won’t fit with the supplied dashboard. However, the dashboard is actually in two bits, so I may remove the driver’s half and fit the instrument panel above the steering column, as in the photo above. The alternative is to cut a gap in the dashboard big enough for the panel to fit into, but that’s a decision for another day.
Finally, I used a nibbler to cut out the hole for the air to get to the radiator. Note the brackets at the top of the picture above for the top pegs of the radiator to fit into. The bottom pegs sit on some box section which isn’t fitted yet.
Next weekend – brakes and fuel!


